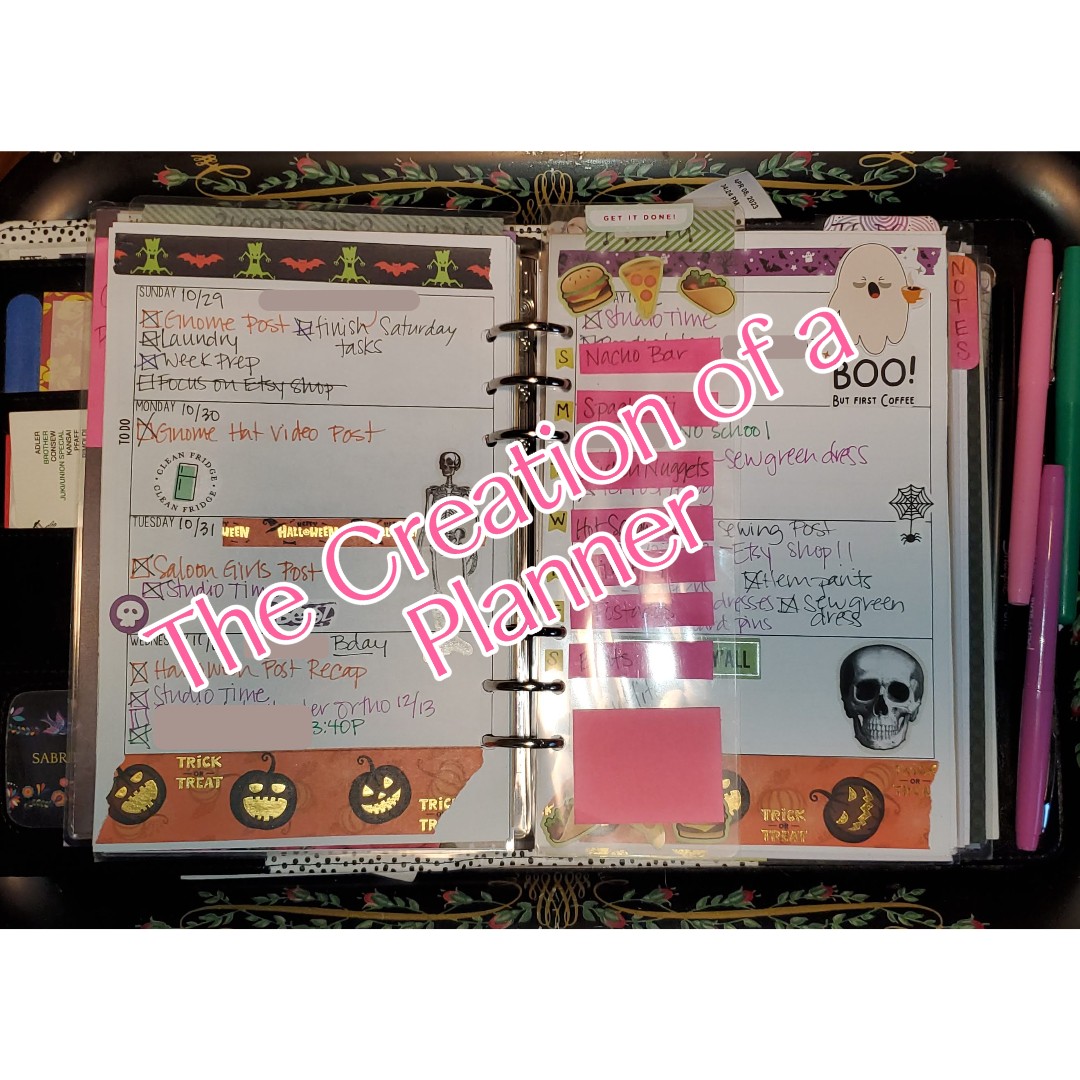
When I started writing this post and creating a new day planner, I could honestly say that I was a planner junkie. I still am in the most basic sense of the word, I love paper, I love taking notes on paper, but I’ve been finding lately that I’m not very good about referring back to those notes in a timely manner and I’ve been missing things. In addition to that, I find that I sometimes don’t have my planner and notes with me when I need them, so I’ve started keeping my important notes in Google Keep which syncs to all of my devices and means that I then always have access to those notes.
That does not mean, however, that I plan to do away with my paper planners, I will just keep them to use how they benefit me the most – my daily to do lists, goal trackers, weekly menu, misc. notes, etc. You have to do you. 😉
I utilize 2 planners right now, my main planner is A5 sized and has really fun black and white stripes. It’s too heavy and bulky to carry everywhere, so it lives in our office where I can refer to it throughout the day. Up until last month, I also had a smaller inexpensive vinyl 6 ring planner/journal (below) that I carried with me in my purse. Since the 6-ring set up is the same as my larger planner I can move items back and forth as needed.

The problem that I ran into with my inexpensive planner is that it started falling apart and didn’t look very professional anymore because the edges were peeling apart.

Rather than try to repair it, I decided to try my hand at making a new planner using some heavy leather scraps I had in my studio. I sorted out the largest pieces and sewed them together with my industrial sewing machine (that thing is amazing for heavy duty projects).

Next I trimmed it down to size using my old planner as a reference point. I should note here that this was not a great idea as the new planner ended up smaller in length than what I had planned for. I’m hoping that since it’s leather, it will stretch and relax over time. I also didn’t take into account that the binder rings have a slightly larger diameter.


After I trimmed the leather, it was time for paint; I selected a dusky blue acrylic with some black mixed in and also painted the inside and the edges solid black.


Once the paint was dry, I marked the holes to attach the binder rings and punched the holes with a leather punch. I know the paint isn’t totally perfect, but I was looking for a more distressed look, especially since I know with time it will show its wear and tear.


Next I put my papers/inserts in so that I could gauge where to put the snap closures. This was where I realized that I didn’t make the planner quite as long as I should have. I was planning on putting a pen loop on the inside flap, but there wasn’t enough length to allow for it. The leather is also still really stiff so it didn’t want to stay curved where I wanted it to.


I ended up with 3 snaps to keep the leather flap closed. I know it will relax with time and so far, I have been happy with the way its been working out. I’m also happy that there hasn’t been a lot of paint wearing off due to it being carried in my purse. I played with metallic pens to add my business name to the front. Of course, I managed to smudge it so now I will have to figure out how to clean it up and redo it without ruining it. My Sharpie pen has been riding in the binder rings and that has been ok so far.

I don’t anticipate that I will ever go fully digital, so for the foreseeable future, my little blue leather planner will ride along with me on all of my adventures.
#sabrinawincklersews #DIYPlanner #Sewist #PlannerLove
How do you feel about planners? Love them or hate them? Let me know in the comments below!

